Polaroid Photography 101: Tips & Tricks
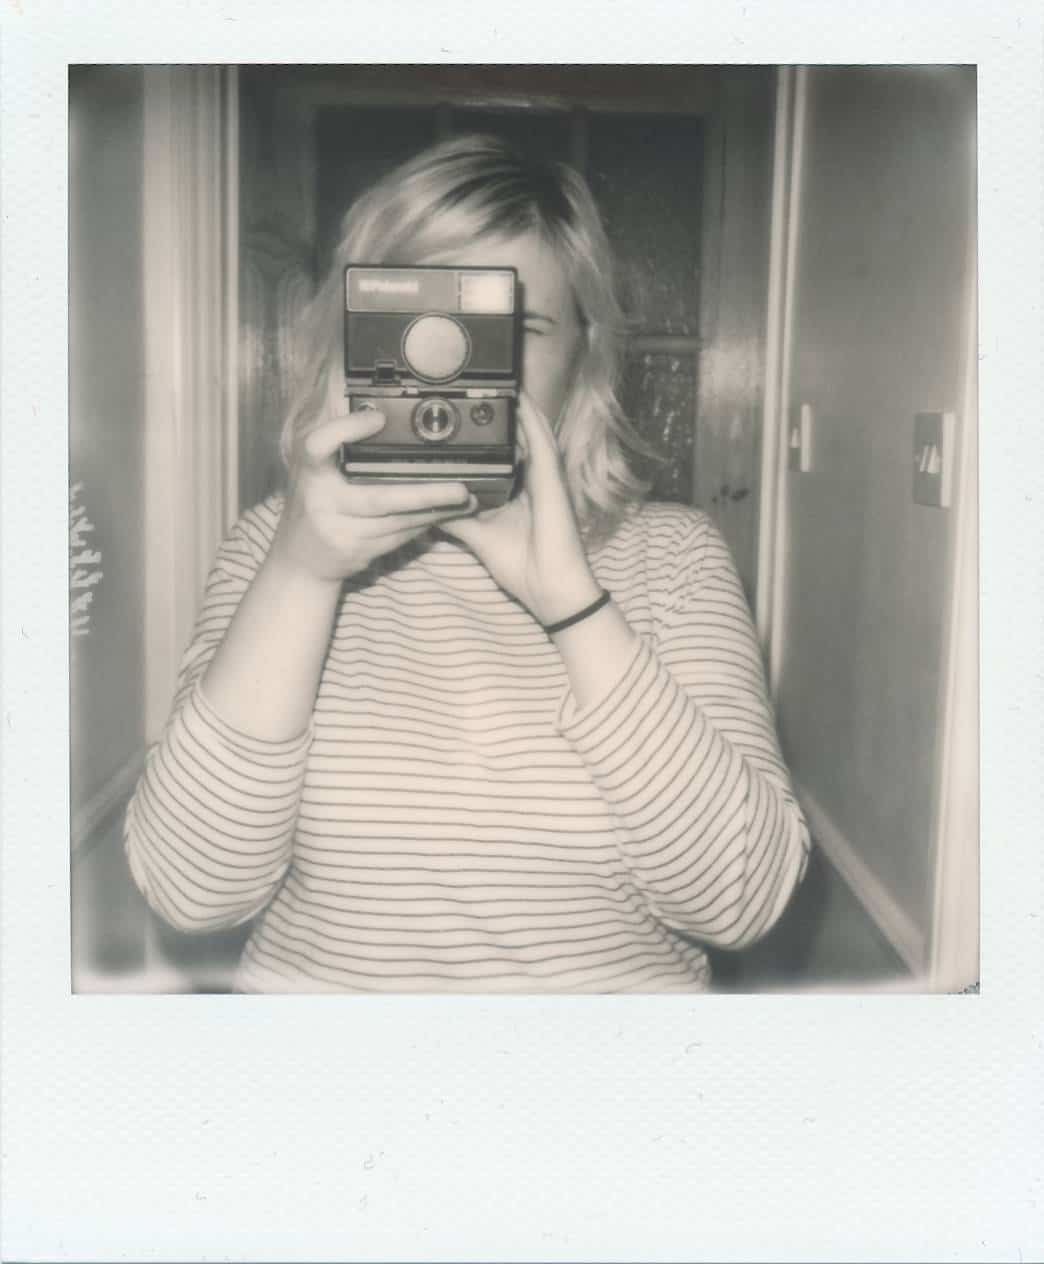
Polaroid cameras. Whether you’ve encountered one in a street market, stumbled over several in a dusty attic, or braved eBay to purchase them, you’ll more than likely need a helping hand to navigating the world of vintage technology, films and general know-how for these famed instruments.

Ignoring the fact you may or not be holding a limited edition Spice Girls model, the first thing to get to grips with is the film. You may have noticed that the camera seems lifeless. Well, you’re right – without a film cartridge they’re essentially a retro paper weight, but once you load up a film pack, they’ll awake and you may notice a few red lights on certain models, and focusing on some will also function.
The main type of Polaroid film for most standalone Polaroid cameras is produced by Polaroid (previously known as the Impossible Project). This Dutch-based company bought up an old Polaroid film factory in 2008 and has since produced lines of instant film for the original Polaroid cameras. The main type of film varies between three models – the i-Type, 600 and SX-70 (Spectra/Image film was discontinued in March 2020).
There’s a strange sense of excitement which accompanies firing up an instant film camera. You never know what’s going to happen, what will end up being slowly spat out of the device, and what the subject will think. And yes, they’ll immediately want to see the results. And it isn’t just intrigue, it’s the sense of connection which is often lost through digital photographs – where there’s often so much processing, as well as lengthy gaps until publication, meaning you, and the person you’re shooting, can often feel detached from what actually happened in the moment. 

I’ve honestly lost count of how many times people have asked me where they can get one. There’s also a child-like sense of DIY – for example, I’ve messed around with the flash on my camera, to give different filters, and have adorned it with all sorts of marks to aid my composition. What’s more, unlike digital portraits, where you’ll often have to give great thought to setting up lights and finding a perfect setting, with this, you’re working on the fly – to the truest meaning of the word – you take what you can get and make the best of it.
Without the pitch-perfect levels of depth of field in your hands to play with and processing aids to fall back on with composition and exposure, the energy of the subject takes centre stage, closely followed by the moment and atmosphere in which the photo is taken. But giving this much attention and word count to such a simple thing is probably overstating it – simply put, it’s stripped-back fun.
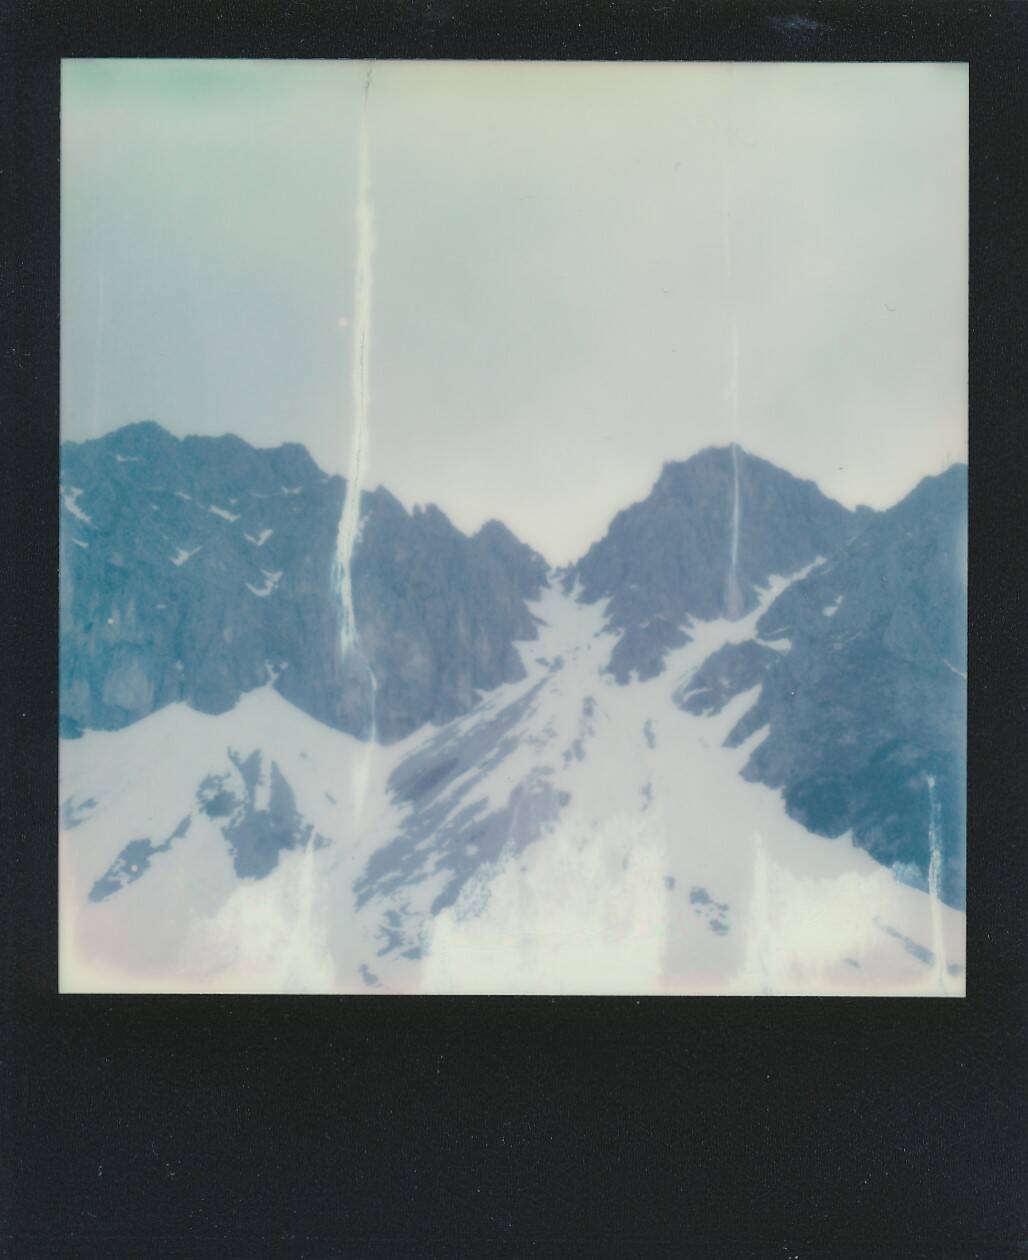
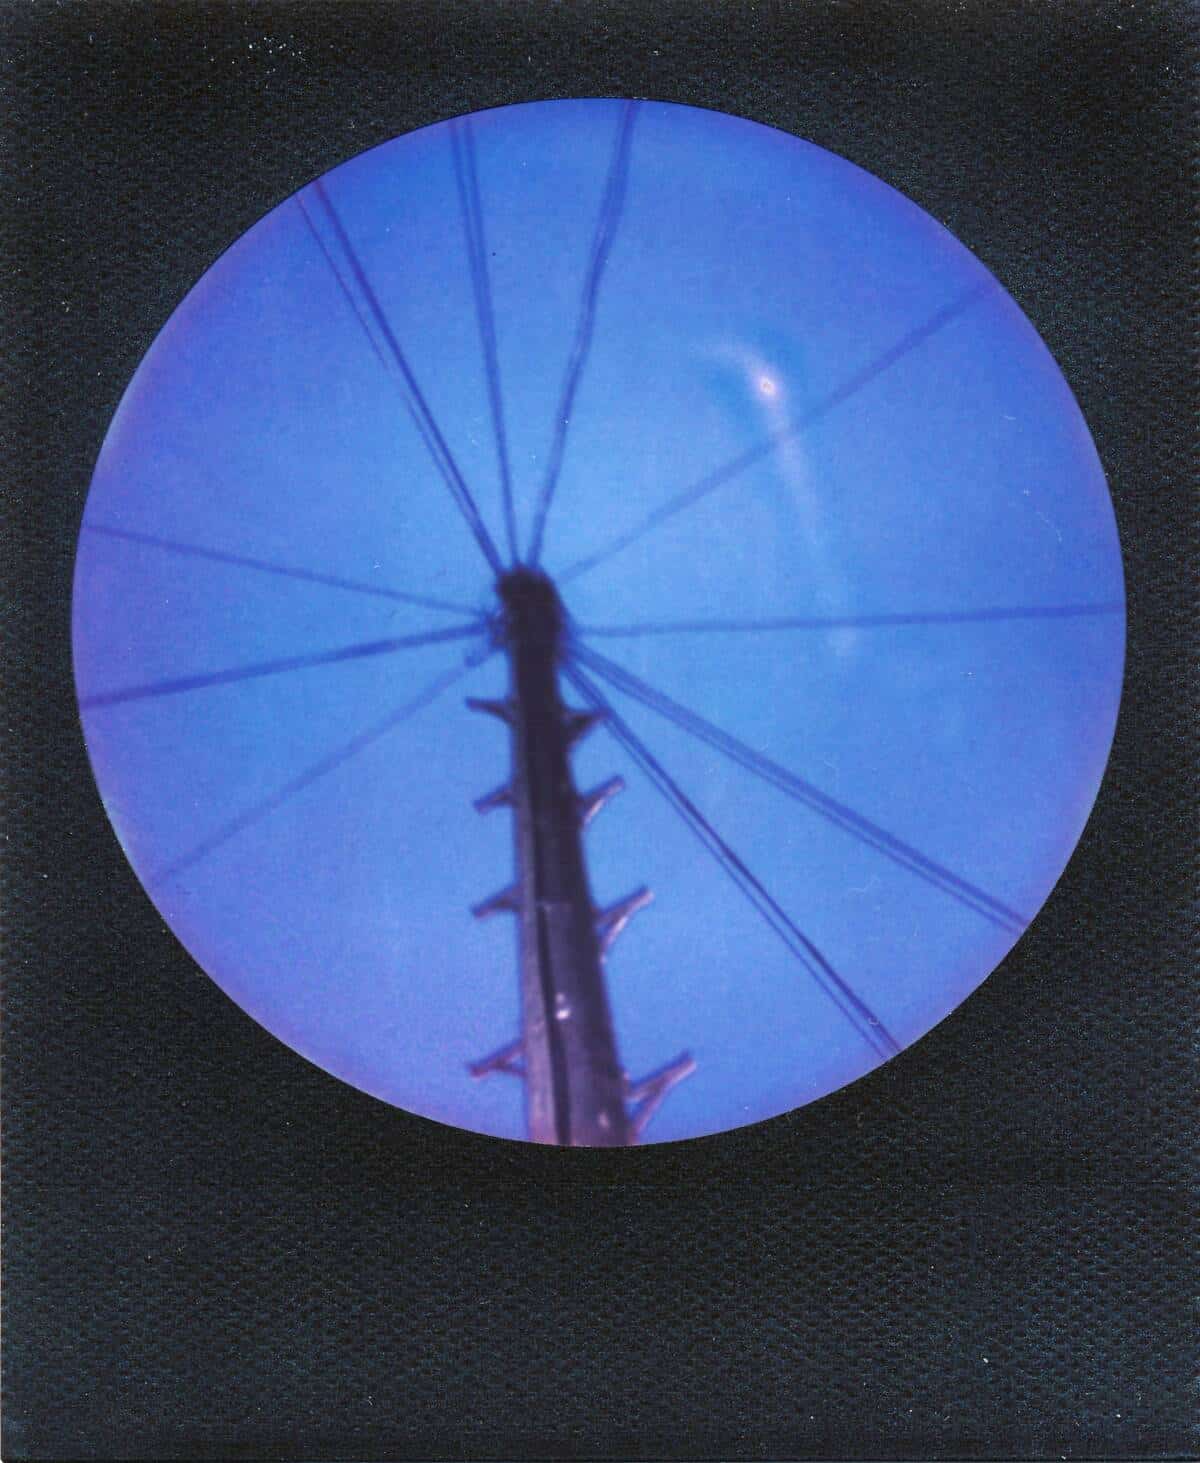
My first shots were in a rather cold East Berlin streetscape at temperatures of -5C, and I soon realised that in this heat, or lack of, the pictures were heavily blue in tones or worse – colourless and overexposed. My best tip is to have a pocket inside a coat or in a shirt that you can swiftly slip the picture into. Speaking of which – you need to ensure that the photograph remains flat or there will be distortion in the image, whether folds, or lines – now this can be quite a cool effect, but obviously you might not be too keen on all your pictures turning out that way.
Whatever the weather, the best case to keep recently taken pictures in that’s most convenient is the actual box in which the film is sold; however, I’ve been using a hard cardboard CD gift box as it’s a bit sturdier and easy to remember.
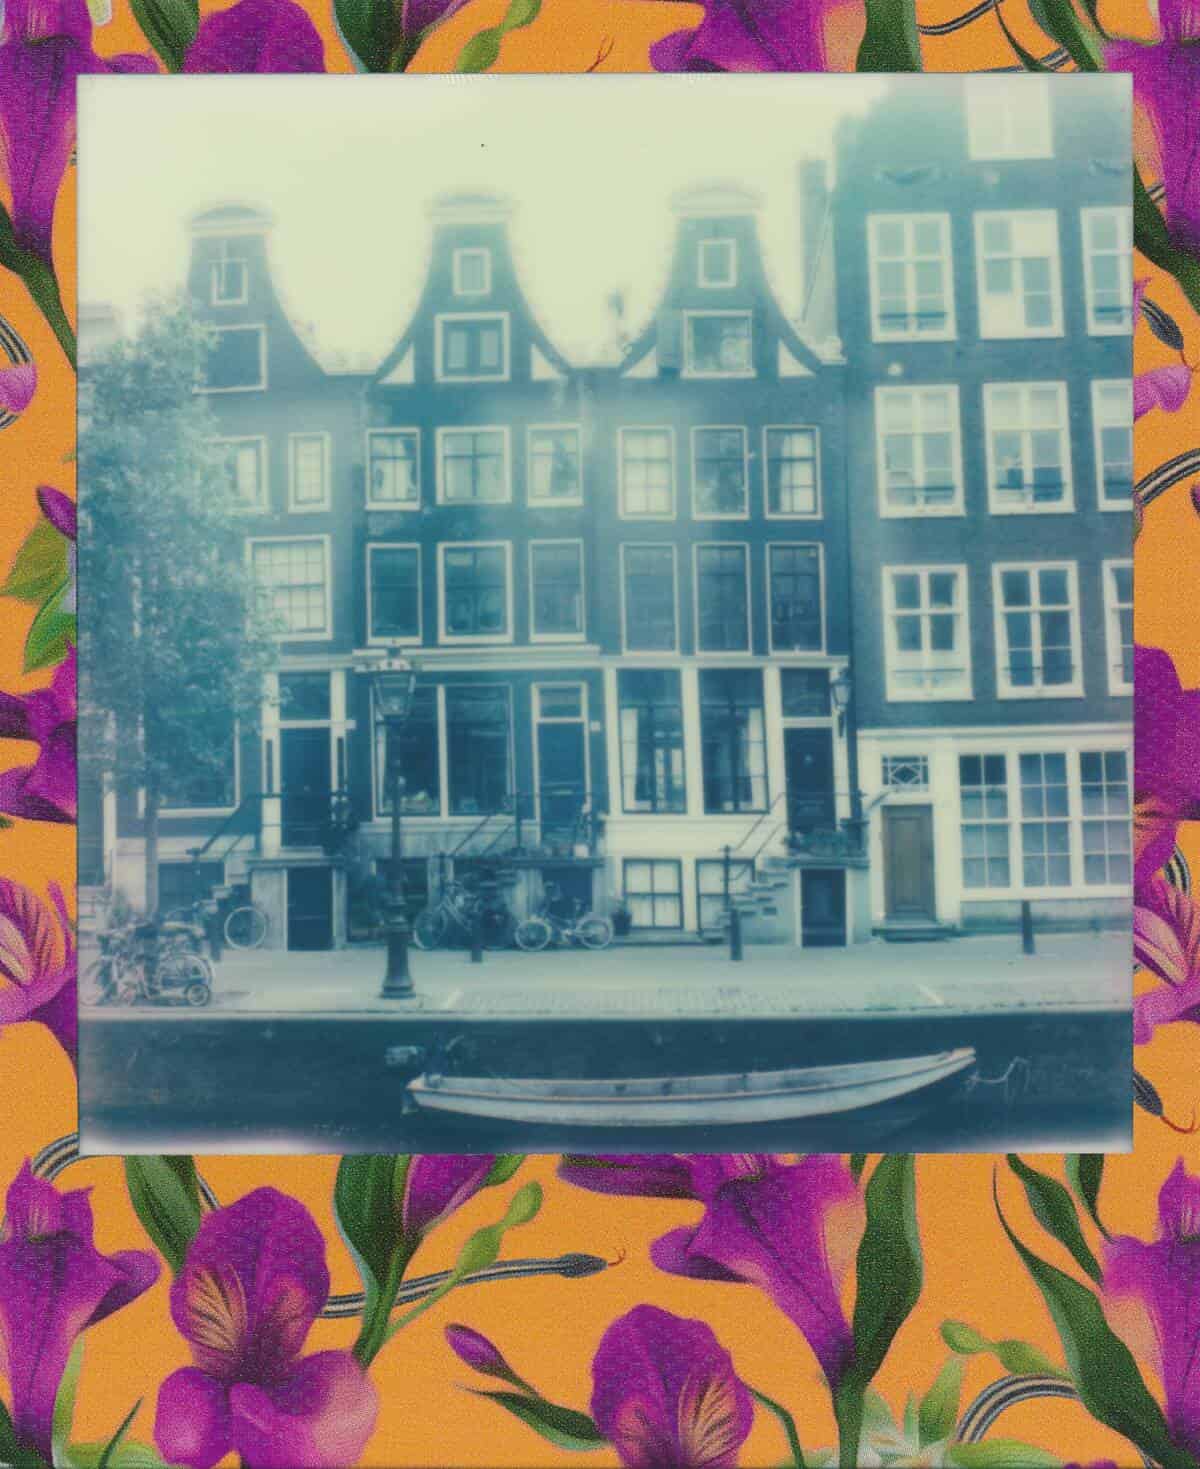
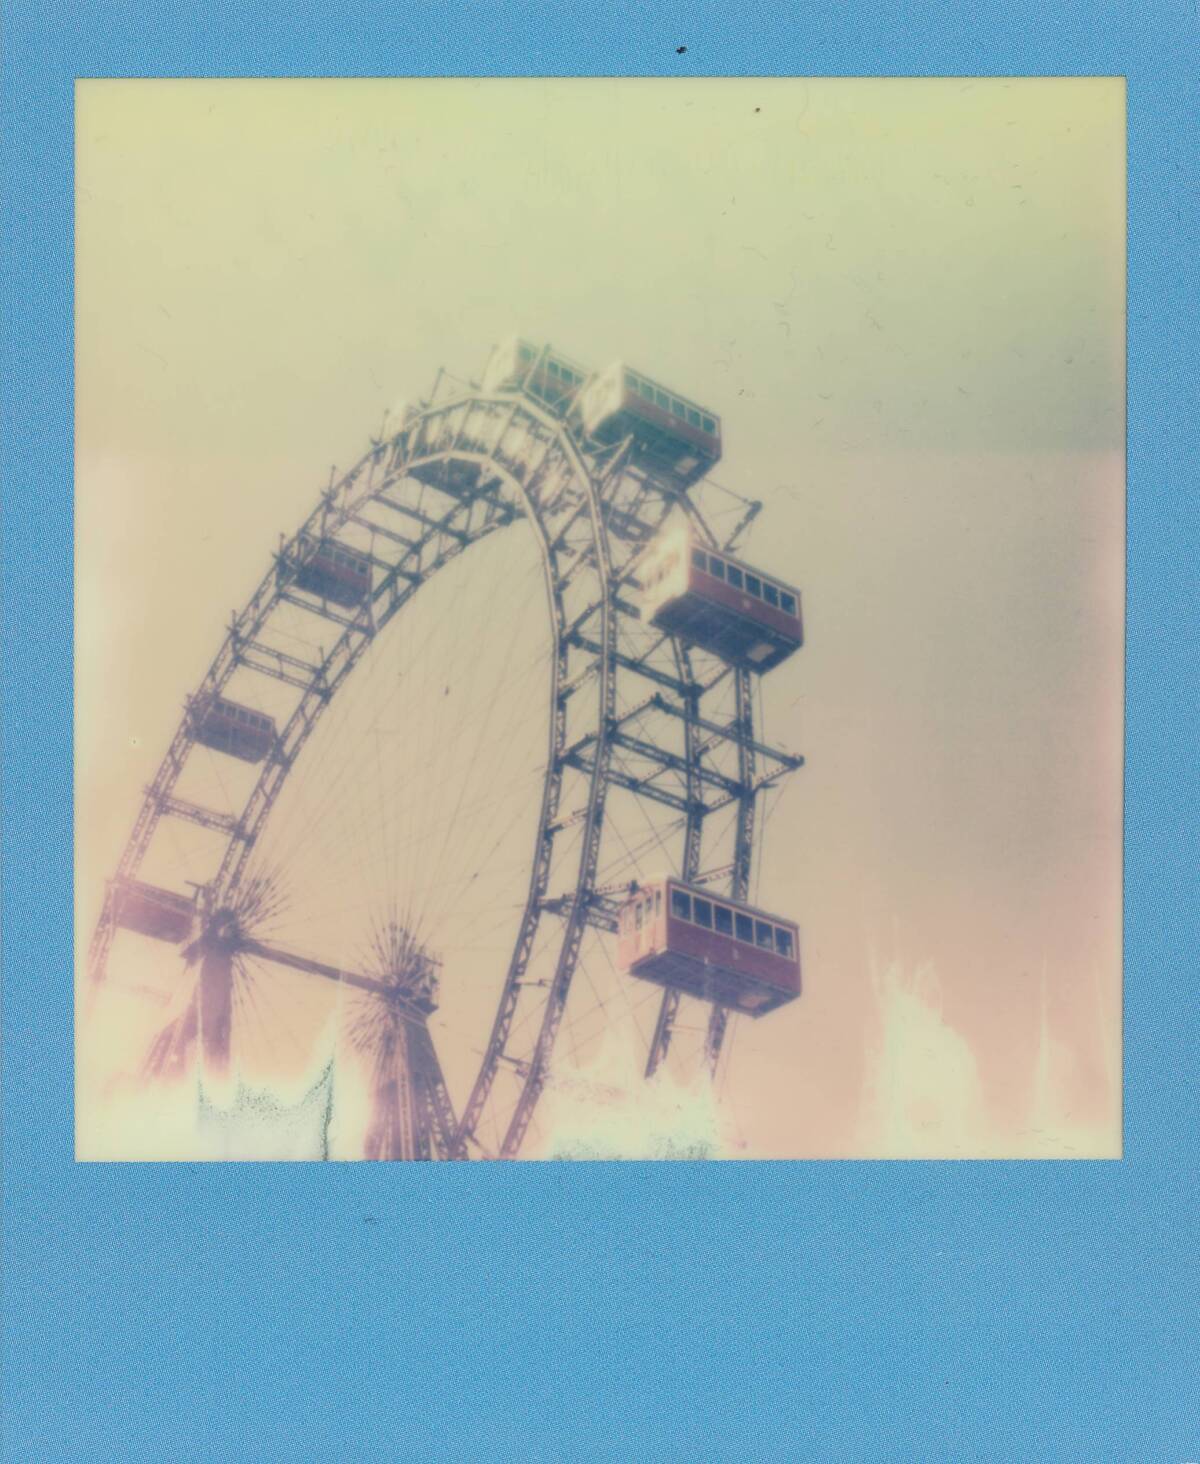
Now, on the other side of the thermometer – extreme heat. Sadly, we don’t tend to experience massive heat waves in the UK, so this bit of guidance might be somewhat less useful, however, if it gets over 30°C (86°F) or so, I’ve found the shots go overly red and yellow, avoid this by storing them quickly in a cool bag or indoors. The official guidelines state the optimum developing temperature is 13 and 28°C (55 – 82° F). They also state that 4 to 18°C (41°F – 65°F) is the best temperature for the photos to be stored and recommend a fridge – though I’ve found keeping them on a shelf out of the sunlight does no harm.
Using Flash Indoors for Better Polaroid Photos
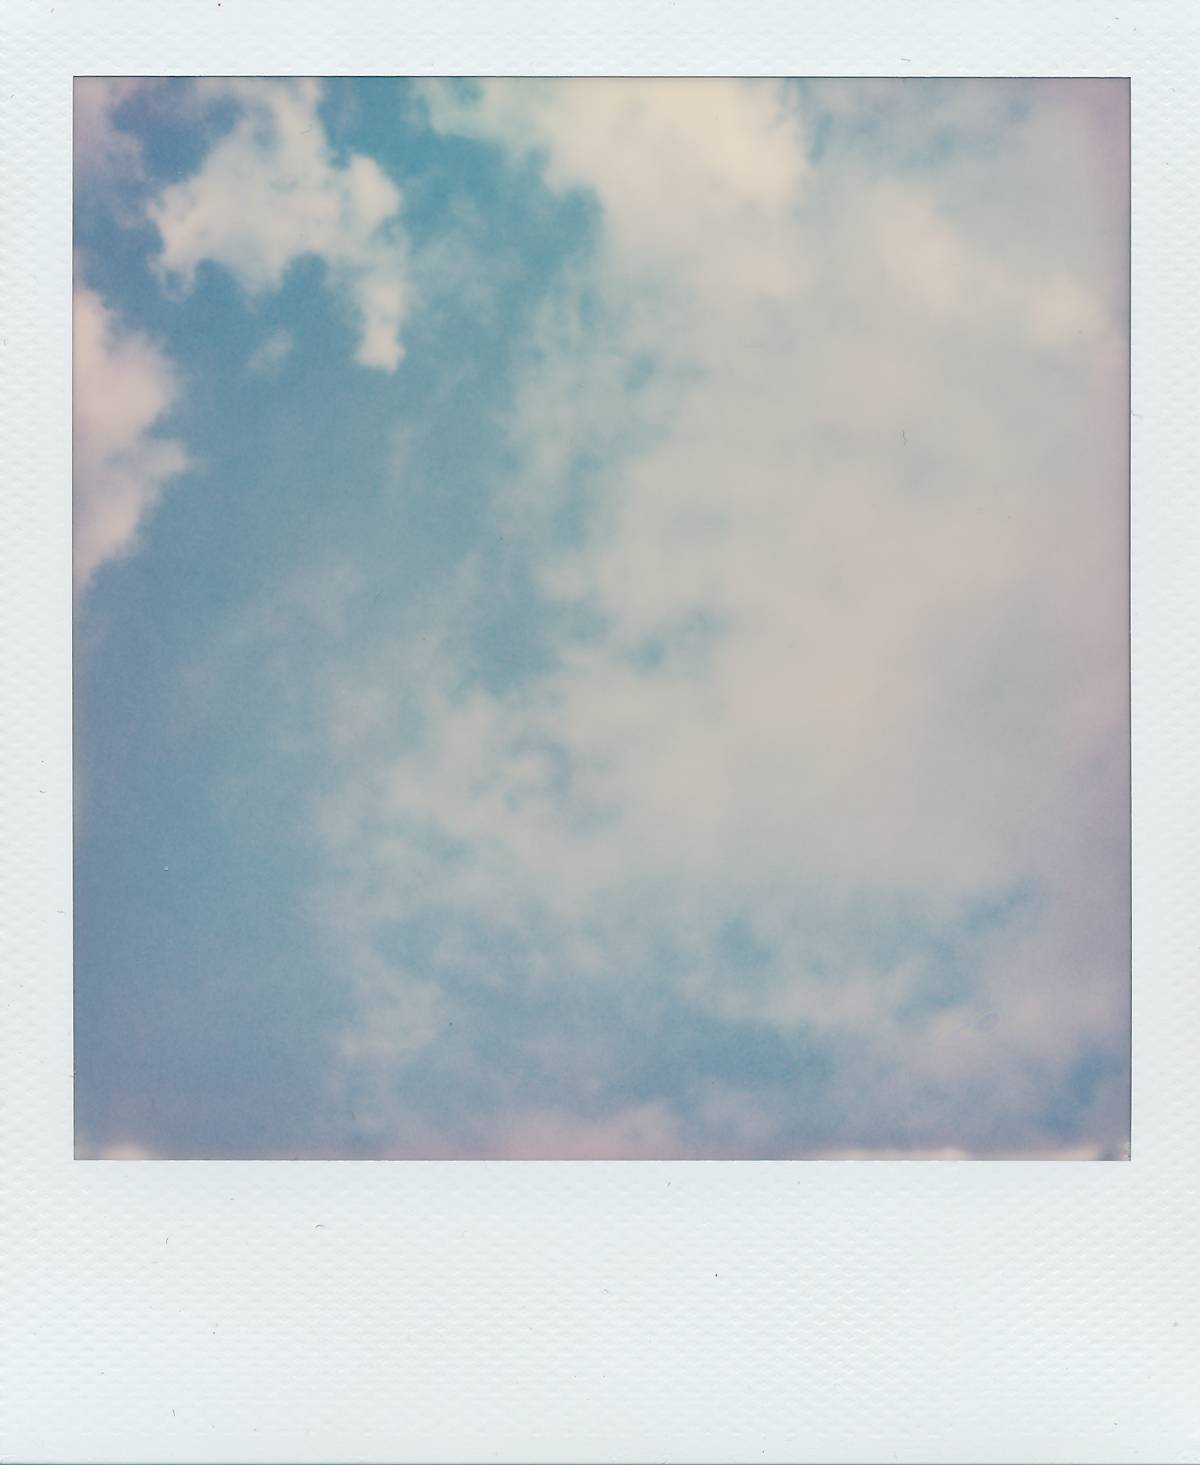
Speaking of sunlight – when taking photos outdoors or in bright environments, the main thing to remember here is that when you take the shot to ensure you hide it from the sun. From my experience, development times vary according to temperatures, but for most film it’s around 15 minutes.
Thanks to the ridiculous improvements in digital cameras in the last decade or so, particularly mobile phones, we’ve all become quite relaxed with taking photos and allowing the technology to do the heavy lifting – you’ll need to ditch this attitude at the door.
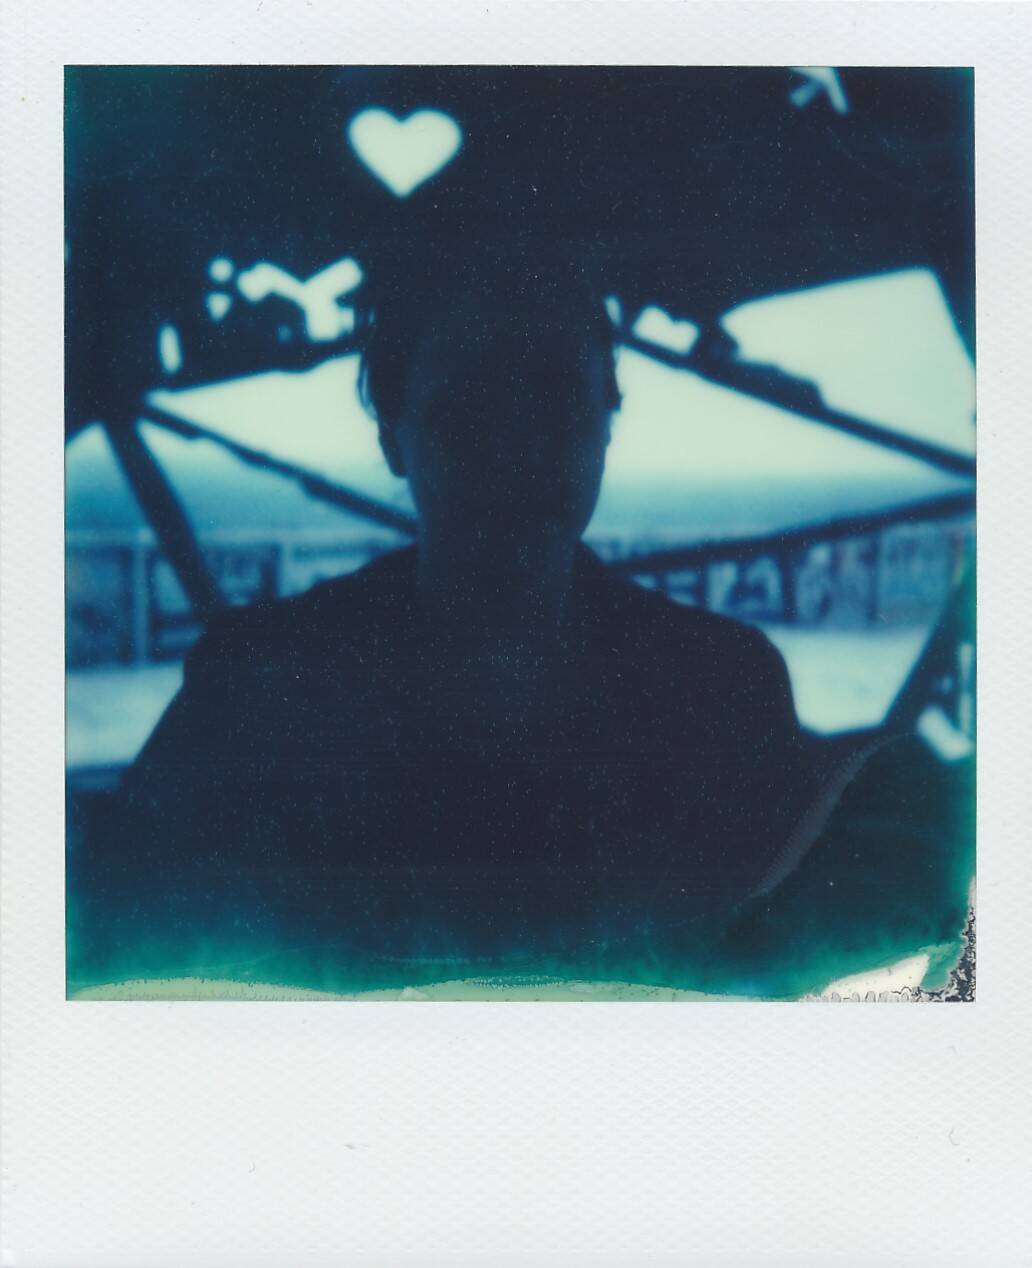
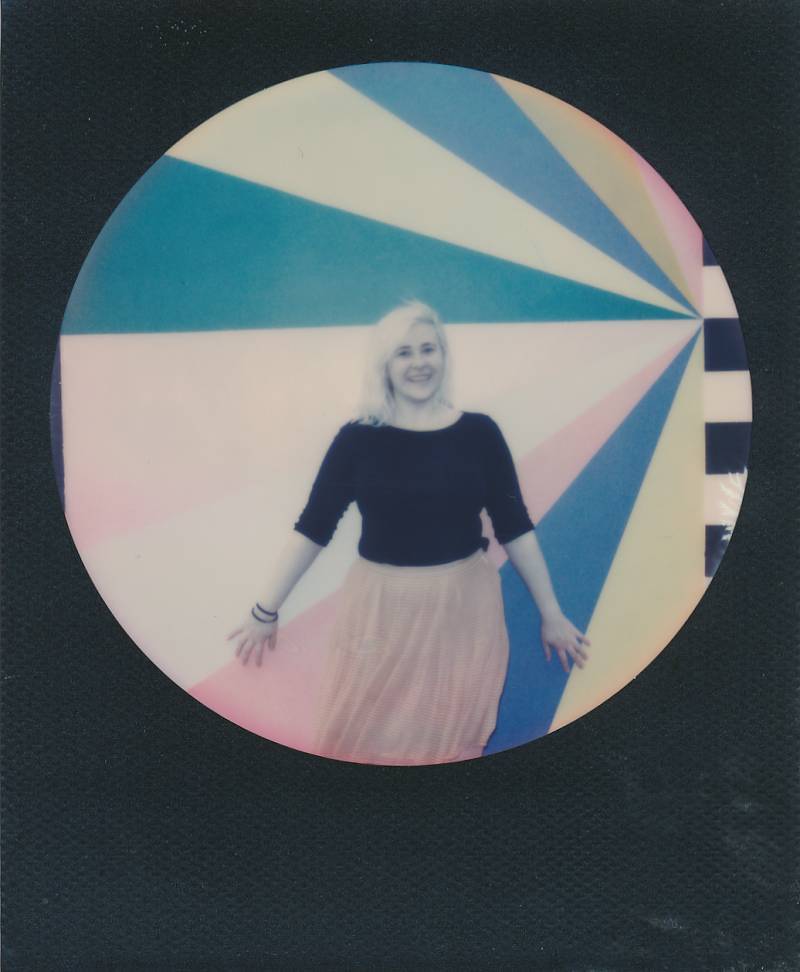
First things first – if you’re indoors you’ll be using flash. Yes, that invention which was incredibly used and honed by early-adopter Jacob Riis to expose the horrific levels of urban poverty in New York City in the 1880s. While you’re unlikely to be braving squalid tenements in Lower Manhattan, this tool will be essential for getting the most out of mid/low-light settings. Even if indoor conditions seem relatively light, the film’s ISO is 600, so it thrives on daylight and dwindles in the dark. Because the flash isn’t dramatically powerful – think a mobile/cell-phone level – it means that if you take a portrait of someone indoors you need to have them stand near a wall or surface (chair, sofa, etc) if you want the backdrop to appear. Without doing this – they’ll appear a lone figure somewhat engulfed by the darkness, which can look stunning, though this may quickly lose its appeal if it’s all you can produce. If you want to get creative, you can look into continuous light sources (lighting gear) – but, because the film is daylight balanced, it means indoor lights will often appear orange unless you can properly adjust their colour.
Getting the Exposure Right on Your Polaroid Camera
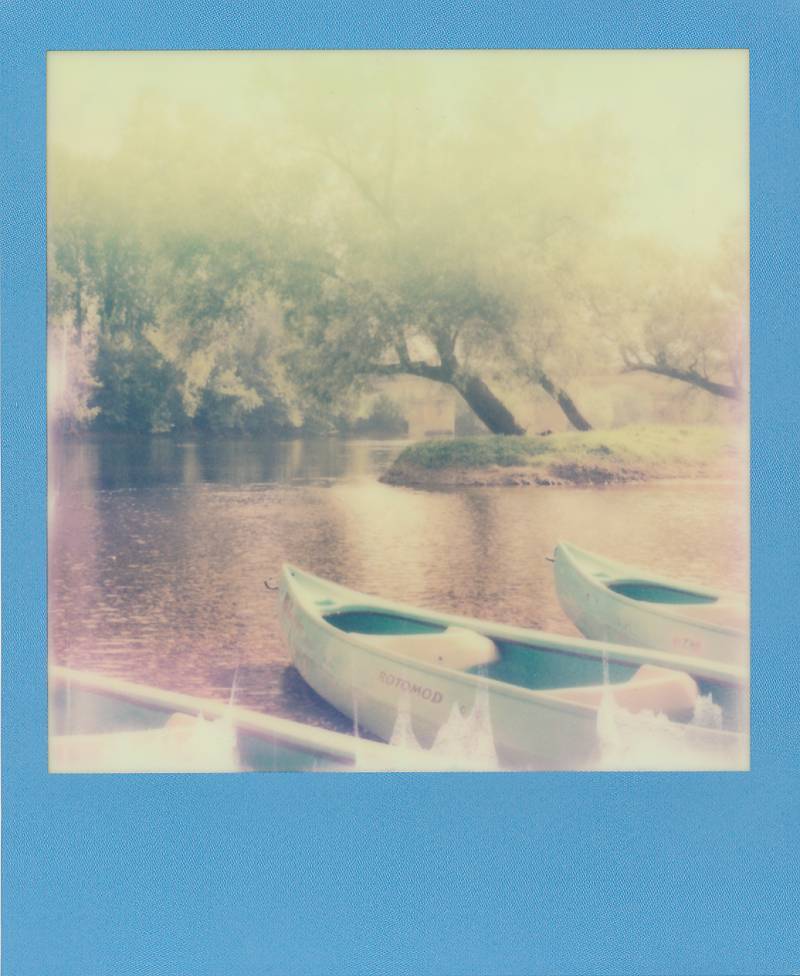
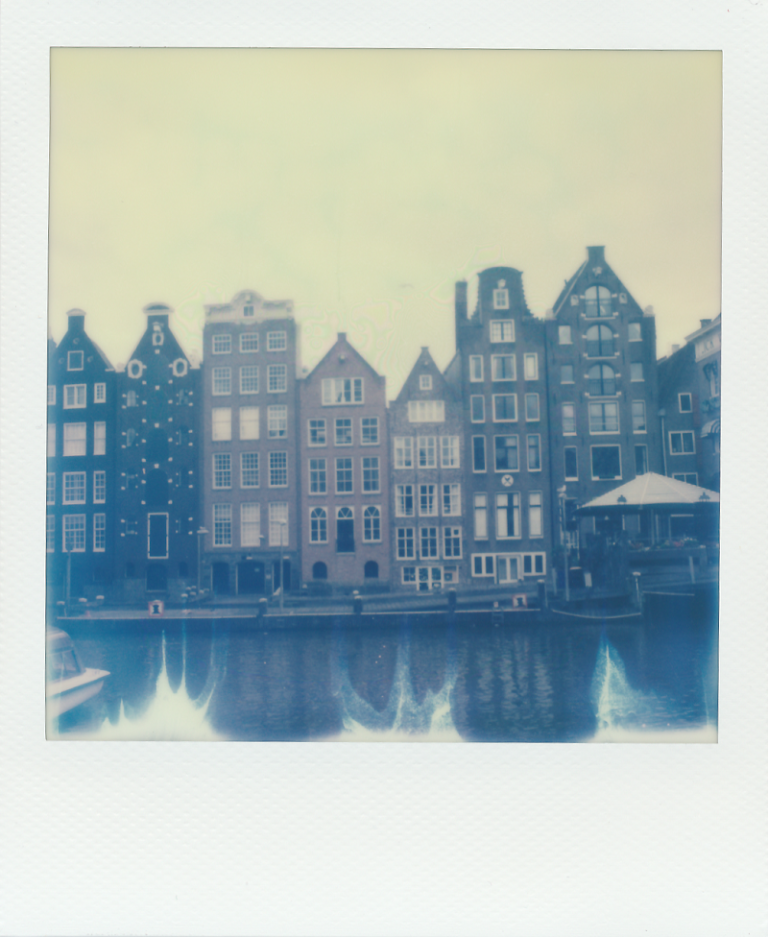
This hasn’t caused any problems for me though, I just find it makes me more aware of my surroundings and encourages me to incorporate the subjects into their backdrops, which you can often neglect when shooting digitally in a rush. If you want to ditch the flash, outdoors is where the camera reigns supreme. The sunlit tones gracing the white frame is something else to hold in your hands. As mentioned earlier, just keep an eye on hiding the freshly-taken shot from the sun (for Colour film).
Whether in the blinding sun or dimly lit backroom, the main tool you have to hand on the 600 series are their exposure compensation dials, though you may have to cope with the fact you’re playing with plastic dials in a world of holograms and oculus rift. I’ve found that edging the dial a quarter of half way towards the light arrow (overexposing) tends to be worthwhile if it’s a darkly lit indoor scene (even with flash), while outdoors edging it 1/5 to 1/4 gives outdoors shots a bit of more dream-like effect. There’s differing opinion on this, and it will vary from camera to camera, and the style and contrast you find most visually pleasing.
Creative Uses for Over and Underexposing Polaroid Film
Despite the fact it’s taken me more than 1000 words to reach this subject, actually pressing the button and taking the shot is probably the thing most people consider the most important part of photography. It’s pretty simple here, line it up through the viewfinder, ensure you’re within the minimum focus distance (around a foot for the 660AF), and fire away! The 660AF has two shutter buttons – a flash and a non-flash variety. The flash one requires you hold it for 5 seconds or so for the flash to charge before you can fire, while the non-flash is instant. The hidden magic of the 660AF is the sonar autofocus – which uses the power of dolphins, well sound-waves to estimate the focus points. It’s incredibly accurate, and always shocks me – no surprise that it’s the tech of choice used in pioneering driverless cars.
Autofocus and Framing Up Your Polaroid Shots
So, if you want to delve into the world of Polaroid cameras, get used to using flash indoors, tweaking that exposure dial and keeping that film flat, but most of all, just enjoy seeing them develop, watching the subject’s intrigue at what will appear, and being a hell of a lot more thoughtful on what you waste your shots on.


Hi, just a quick question: did you scan your polaroids to put on this blog? I always photograph mine, but that never looks so good and sharp. Thnak you! Best wishes, Stefan from Holland.
Hey Stefan, thanks for your questions. I used the Canon 9000F MK II to scan the polaroids. Hope this helps!